Did you know you should flush and replace your car’s brake fluid roughly every two years? It’s one of those essential maintenance jobs that’s easy to forget, but it plays a huge role in keeping your brakes responsive and safe. By the end of this guide, you’ll understand what brake fluid does, when it needs changing, and how to replace it yourself if you’re confident with basic car maintenance.
If you’re brushing up on DIY car care, you can find plenty of practical guides like this in our car maintenance guidance hub.
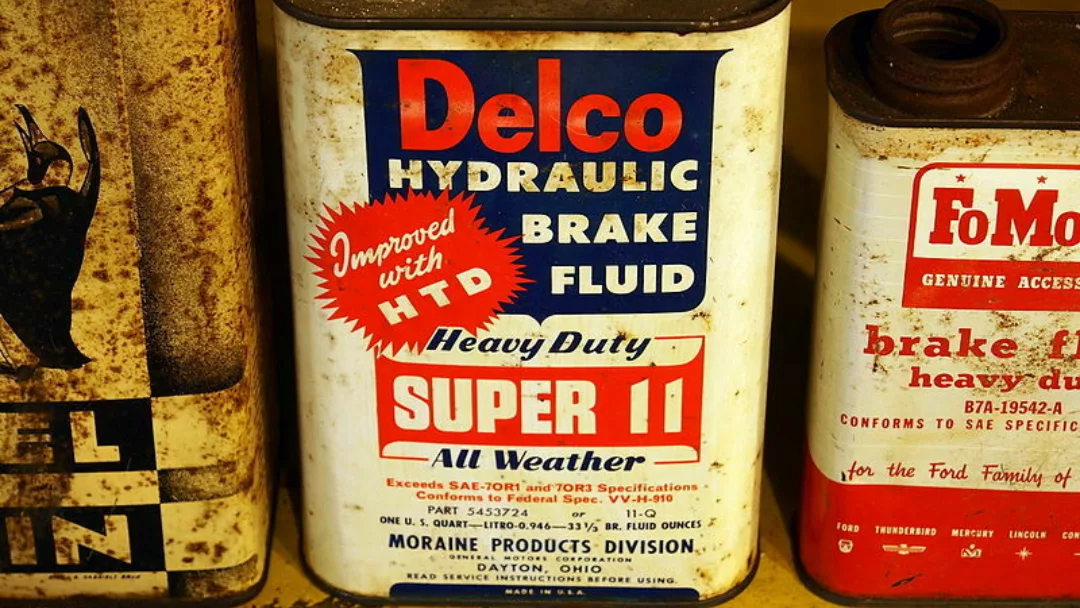
What is brake fluid?
Brake fluid is a specialised hydraulic fluid that transfers the force from your brake pedal to the braking components at each wheel. When you press the pedal, brake fluid converts that pressure into stopping power.
Because it operates under extreme pressure and high temperatures, brake fluid naturally degrades over time. Moisture absorption can reduce its effectiveness, which is why regular replacement is so important.
How does brake fluid work?
In simple terms, this is what happens when you press the brake pedal:
-
The pedal pushes a piston inside the master cylinder
-
Pressure builds within the brake lines
-
Brake fluid transfers that pressure to the brake calipers
-
The calipers clamp the brake pads onto the discs, slowing the car
Different vehicles require different types of brake fluid (DOT 3, DOT 4, DOT 5.1, etc.), so always check your owner’s manual—especially if your car has ABS.
How to change your brake fluid
Changing brake fluid can be a bit fiddly, but it’s manageable with patience and a helping hand.
You’ll need:
-
Fresh brake fluid (correct type for your car)
-
A syringe or turkey baster
-
Clear plastic tubing
-
A clean container
-
A lint-free cloth
-
A helper
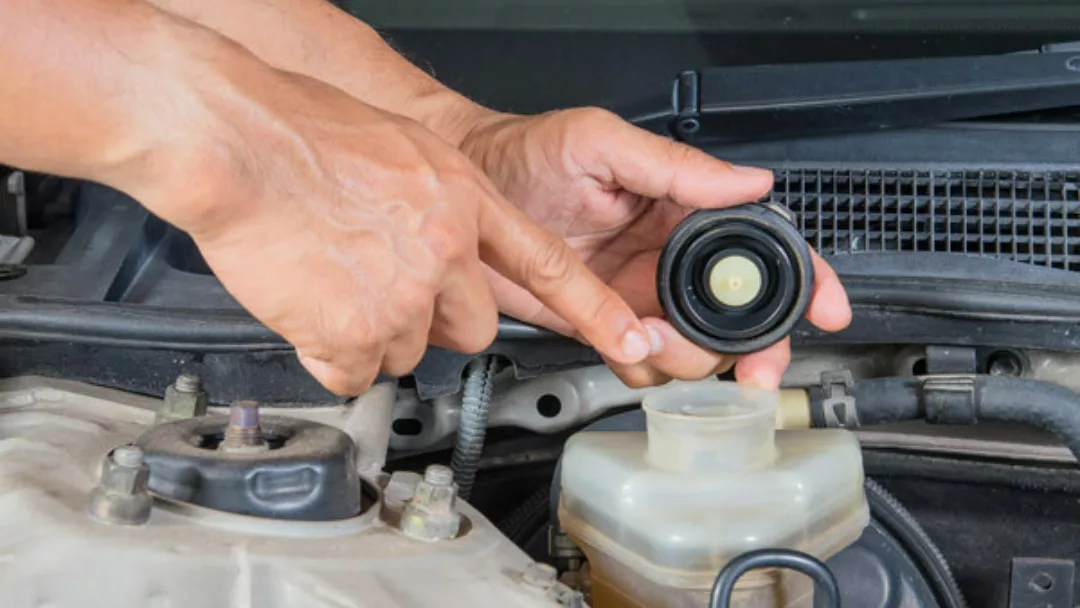
Step 1: Remove old fluid from the reservoir
Open the bonnet and locate the master cylinder reservoir. Remove the cap and use a syringe or baster to extract as much old fluid as possible. Wipe the reservoir clean and dispose of the fluid responsibly.
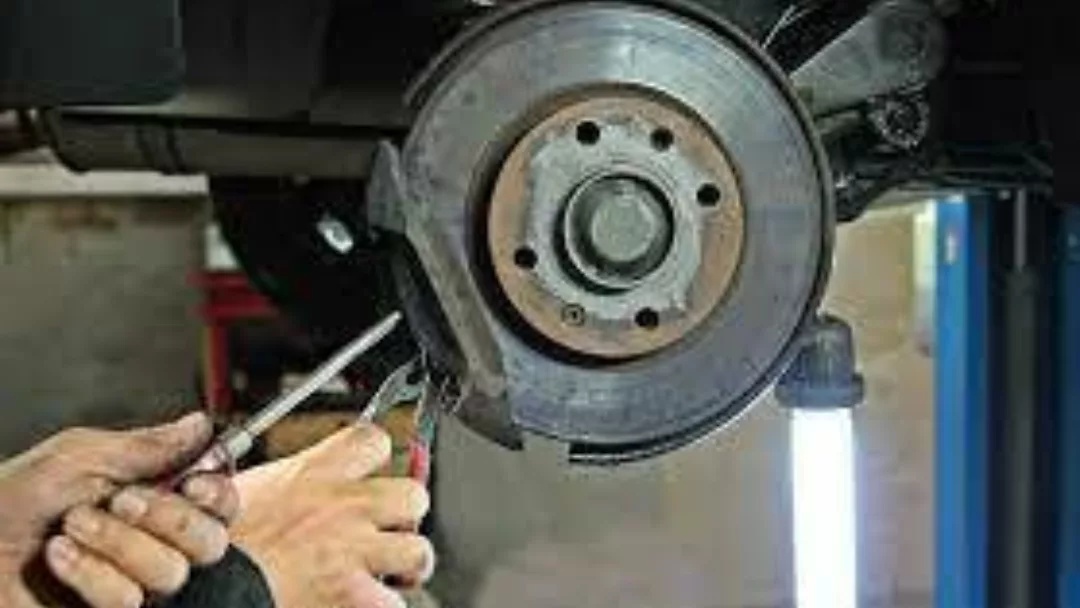
Step 2: Prepare the bleed valves
Loosen the bleeder valves on each brake caliper. They can be tight if they haven’t been touched in a while, so take care not to round them off.
Step 3: Attach tubing
Push one end of the clear tubing over the bleeder valve and place the other end into a container with a small amount of clean brake fluid. This prevents air from being drawn back into the system.
Step 4: Bleed the brakes
Ask your helper to press the brake pedal slowly and hold it down. Open the bleeder valve to let fluid escape, then close it before your helper releases the pedal. Repeat this process until fresh fluid flows through with no air bubbles.
Step 5: Top up the reservoir
Regularly check and refill the master cylinder with fresh brake fluid to prevent it from running dry. Once complete, tighten the bleeder valves and replace the reservoir cap securely.
Final checks
After bleeding all four brakes, press the pedal firmly—it should feel solid, not spongy. If it doesn’t, air may still be present and the process should be repeated.
If you’re tackling more DIY tasks, it’s also worth learning about rotating your tyres, because let’s face it, it all falls under maintenance, and its just as important as your brakes.
If you’ve given up all together with your car, and decided that there’s just no saving the brakes, or anything else on your car for that matter, and you’re considering selling, we can help provide you with an instant free valuation right here.

